Concepts
How it works?
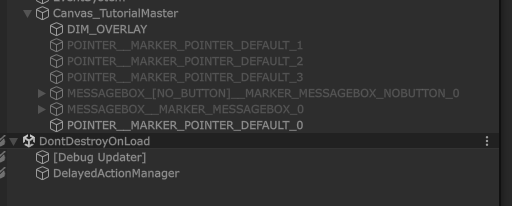
Canvas
Tutorial Master is designed to be as non-invasive as possible. To achieve this, one of the key decisions was to keep all tutorial-related UI in a separate Canvas.
The Tutorial Master canvas sits on top of your other UI, which makes it possible to keep your UI elements interactable. The depth is not controlled programmatically, so it's up to you how you wish the tutorial UI to be rendered.
"Isn't having multiple Canvases bad for performance?"
Breaking down your UI into multiple canvases is actually encouraged by Unity, as any change in a Canvas redraws the entire Canvas.
Object Pooling
All tutorial-related UI elements (referred to as "Markers") are instantiated at Start.
Tutorial Master scans through all tutorials and stages and instantiates the necessary amount of UI elements, which are then reused and never destroyed.
With that said, each time you make a change that involves adding, changing, or removing an action that's responsible for spawning a Marker, you'll need to manually re-initialize the component by calling TutorialMasterManager.Initialize(). This will re-create the object pool.
Structure
A tutorial in Tutorial Master is organized hierarchically:
- Tutorial: The complete learning experience
- Stages: Individual instructional steps
- Events & Actions: The mechanics that control what happens within each stage
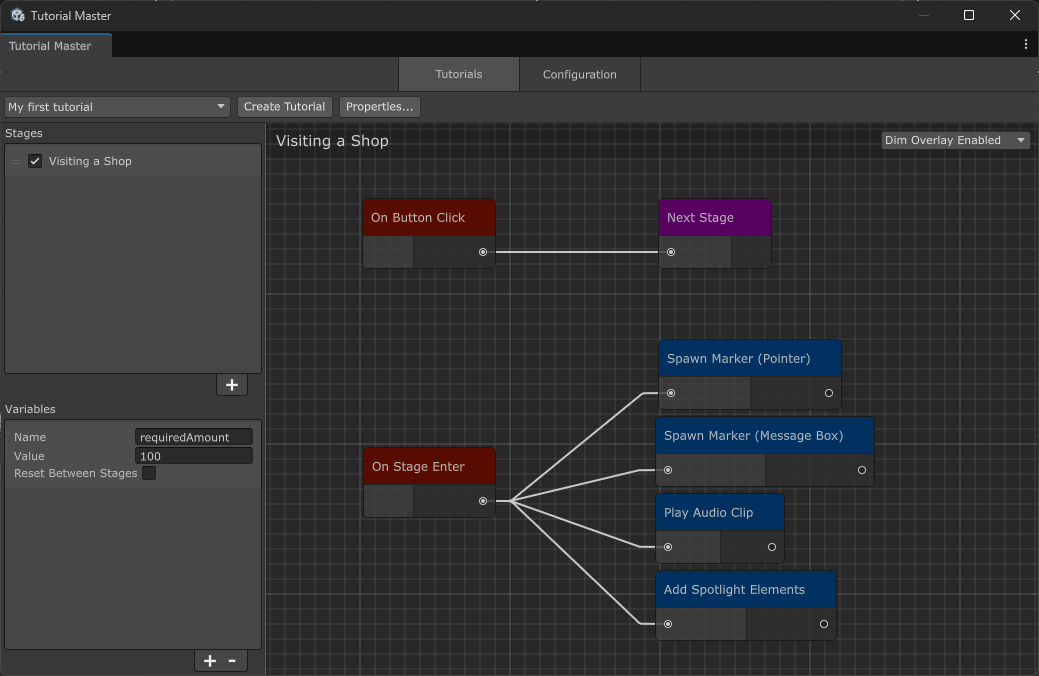
Stages
Each Stage represents a single instructional step that the Player must complete before proceeding to the next stage. Examples include:
- Clicking a specific button
- Picking up an item
- Navigating to a certain area
Events & Actions
The behavior within each Stage is controlled by:
- Events: Triggers that respond to specific conditions
- Actions: Behaviors that execute when their connected Event is triggered
Important: Actions will only run when they are connected to an Event.
Default Entry Point
Every Stage includes a default entry point Event called On Stage Enter. Any Actions connected to this Event will automatically run when the Stage begins.
Run Next Actions
By default, when an action or event completes, it automatically triggers all connected actions. However, you can control this behavior using the Run Next Actions option.
To toggle this option:
- Right-click on any action or event node in the node editor
- Select Run Next Actions from the context menu
- A checkmark (✓) indicates that connected actions will run; no checkmark means they won't

When "Run Next Actions" is disabled:
- The action/event itself will still execute normally
- Connected actions will not be triggered
This is useful if you'd like to test certain events and actions in isolation.