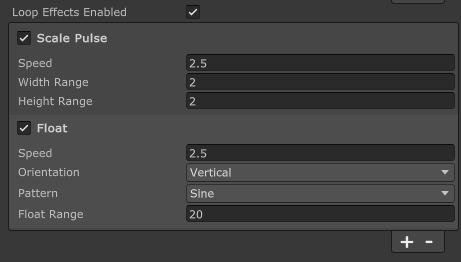
Base Settings
Below are settings found in all Markers that allow you to configure the positioning, constraints, and visual effects for tutorial markers in your UI.
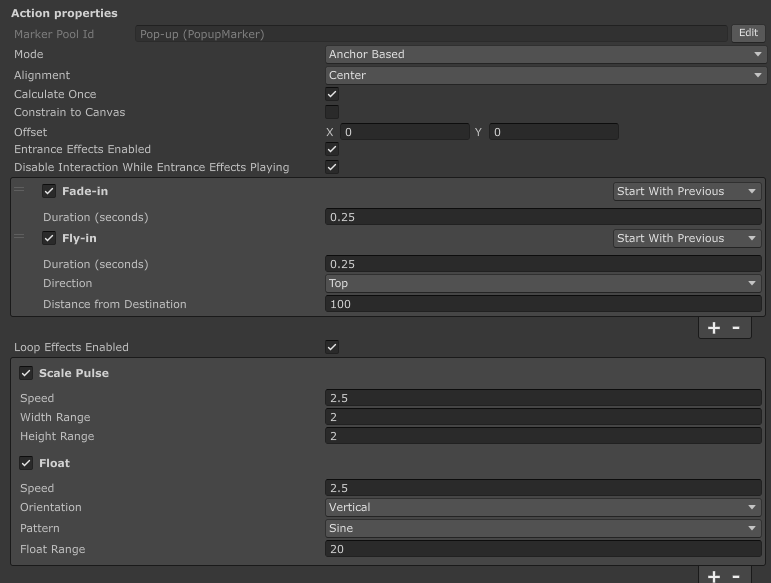
Position Mode
Select how your marker will be positioned in the canvas:
| Mode | Description |
|---|---|
| Canvas Transform Based | Positions the marker relative to a UI element in your canvas |
| World Transform Based | Positions the marker based on a world-space transform, converting the position to screen space |
| Anchor Based | Positions the marker at a fixed anchor point in the canvas |
| Manual | Allows direct specification of the marker's position using Vector2 coordinates |
Canvas Transform Based
| Setting | Description |
|---|---|
| Target Canvas | Reference to the canvas that contains the target UI element |
| Target Transform | The RectTransform of the UI element the marker will be positioned relative to |
| Alignment | How the marker aligns with the target (see Alignment Options table below) |
World Transform Based
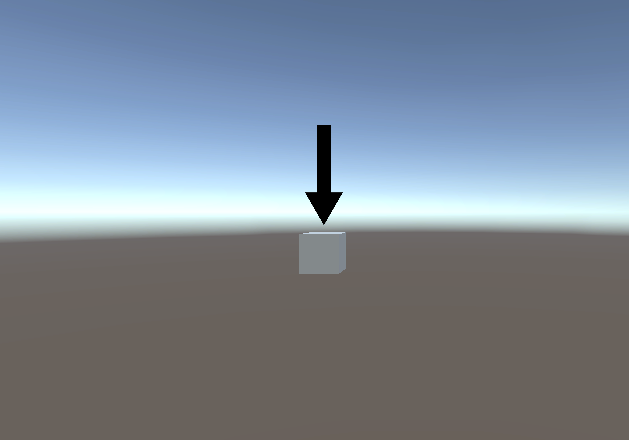
| Setting | Description |
|---|---|
| Target Transform | The world-space Transform the marker will track |
| Alignment | How the marker aligns with the projected screen position of the target |
| Render Camera | Configuration for which camera to use for world-to-screen projection |
Camera Configuration
| Camera Type | Description |
|---|---|
| Inherit from Canvas | Uses the camera assigned to the canvas |
| Camera.main | Uses the main camera in the scene |
| Custom | Uses a specified camera reference |
Anchor Based
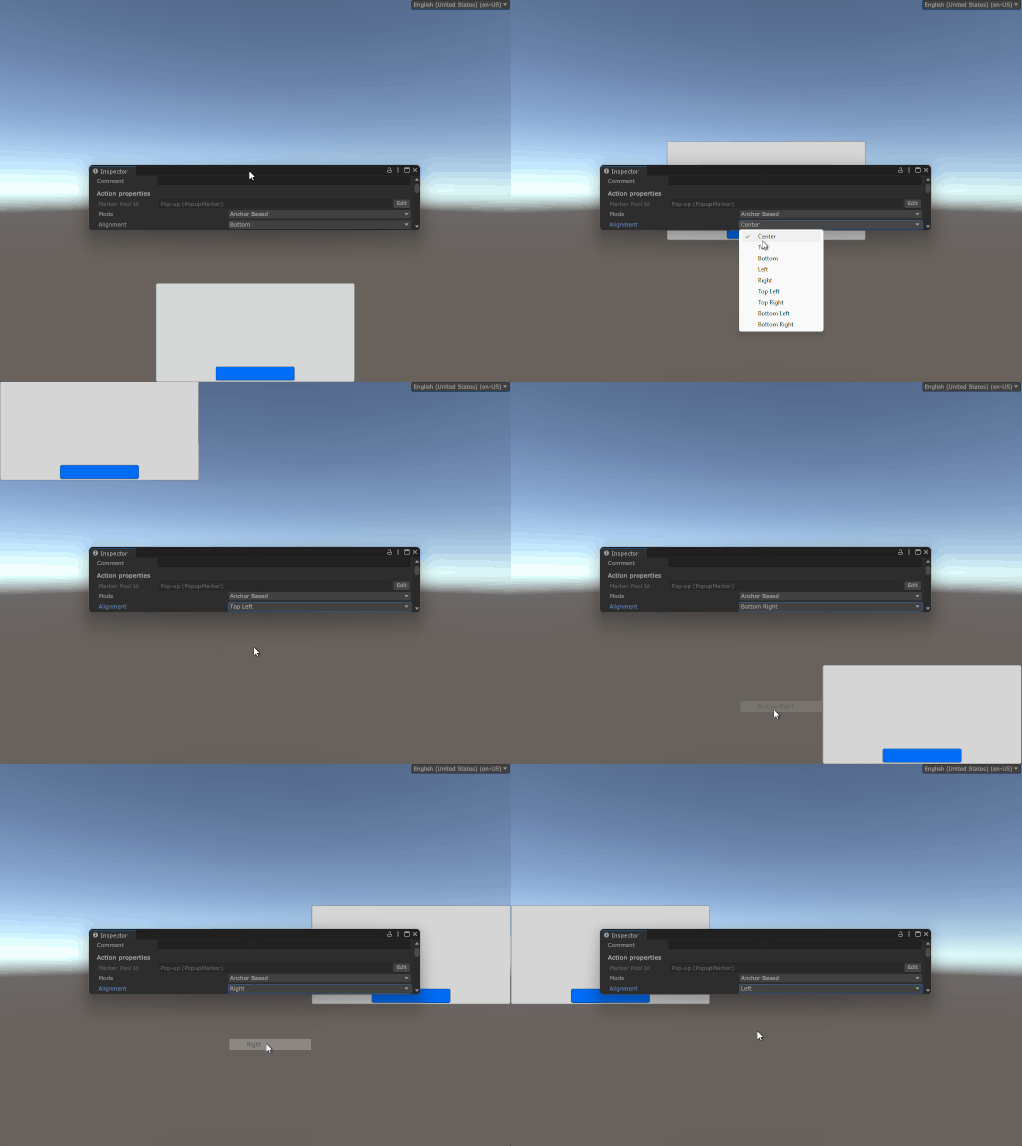
| Setting | Description |
|---|---|
| Alignment | Sets the marker at a fixed location in the canvas based on selected alignment |
Manual
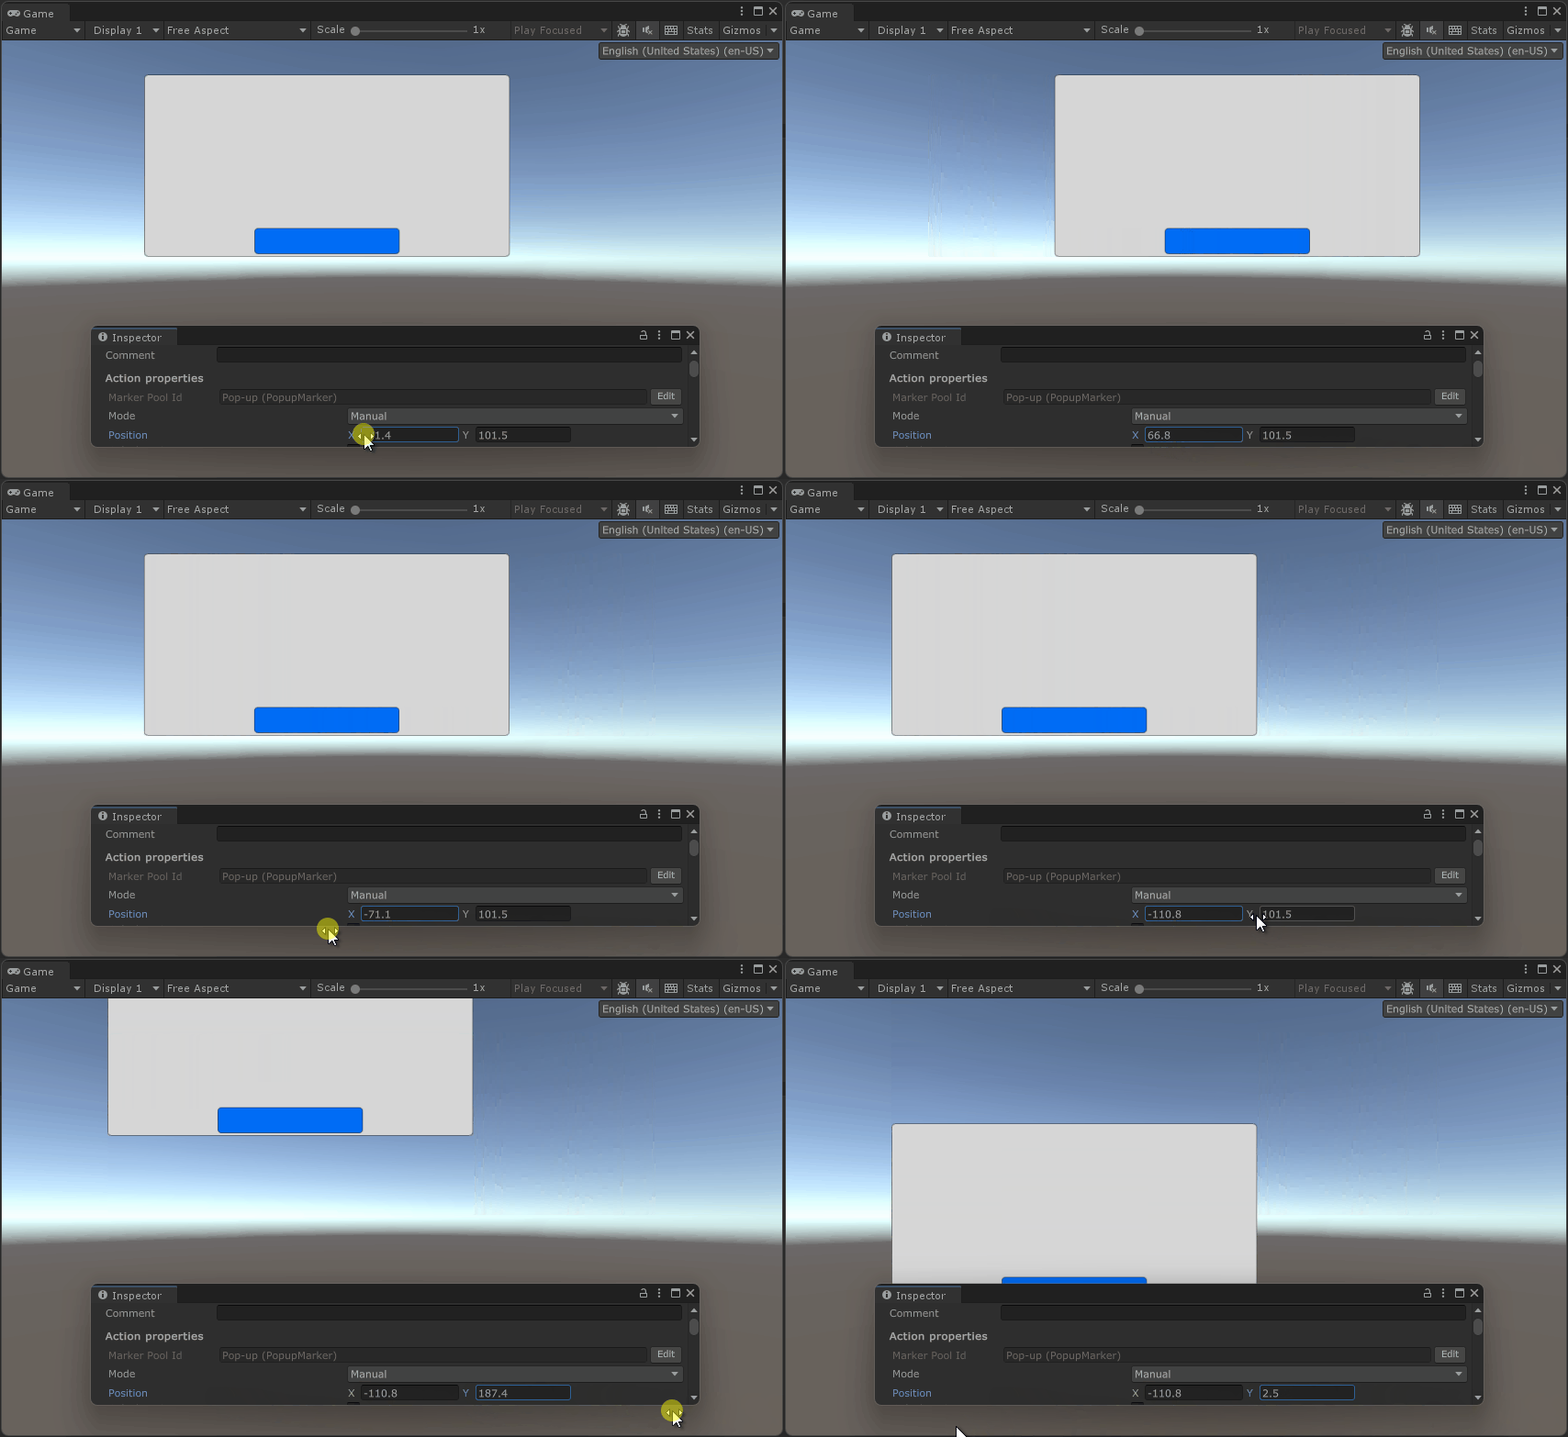
| Setting | Description |
|---|---|
| Position | Direct Vector2 coordinates where the marker will be placed |
General Settings
| Setting | Description |
|---|---|
| Calculate Once | When enabled, calculates marker position only once. When disabled, recalculates every Update() loop |
| Constrain to Canvas | Configuration to ensure marker stays within canvas boundaries |
| Offset | Final Vector2 offset applied after all positioning calculations |
Constrain to Canvas
When Constrain to Canvas is enabled, the Marker will not leave the Canvas, even if its final position would be out of bounds. This is useful if you want the Player to pay attention to something that's out of their field of view.
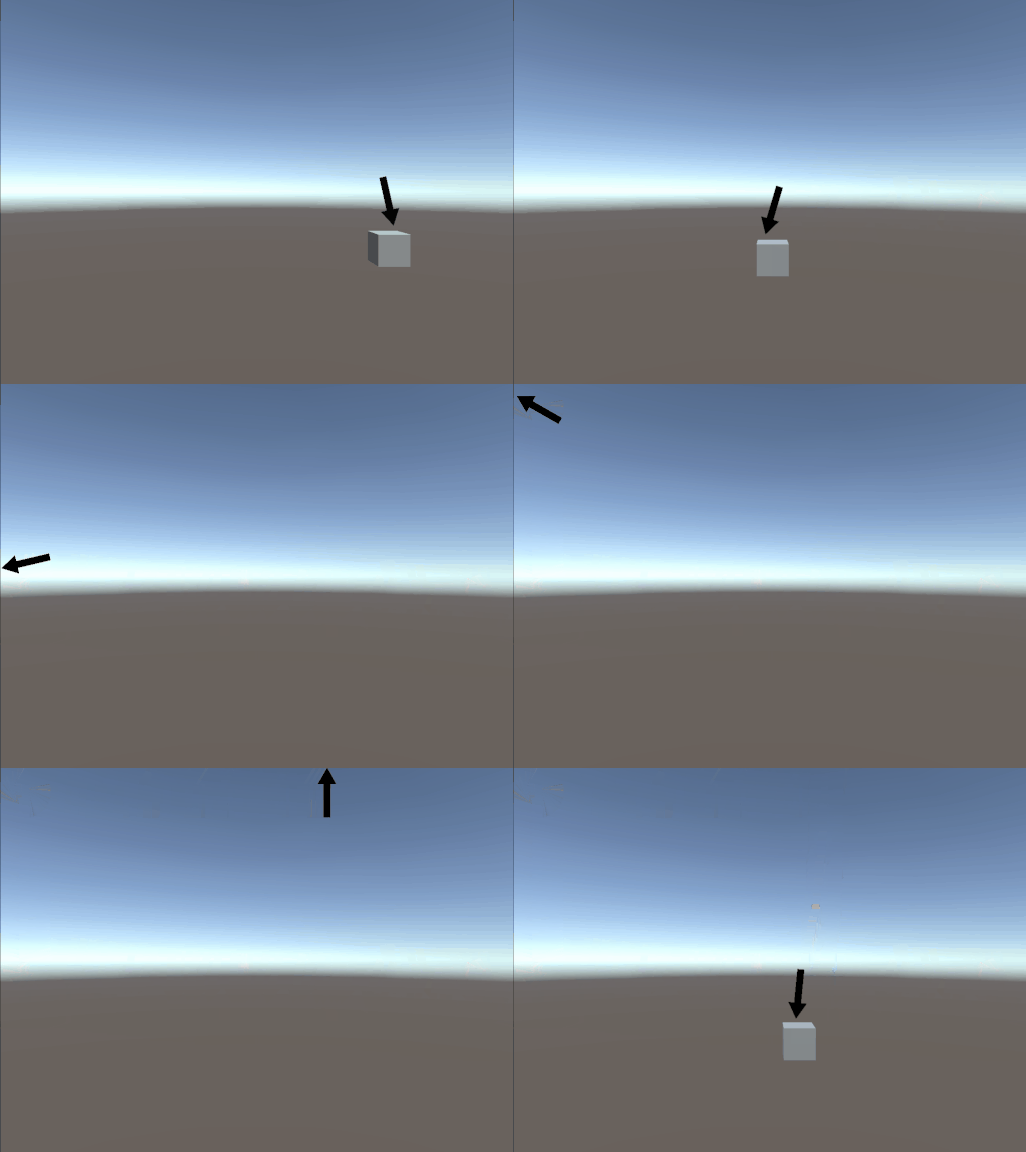
Padding
Specifies the padding of the constraint. The higher the values, the smaller the space the Marker can navigate around.
Here's a visualization of how padding works against the canvas and how the Marker is affected by it:
Setting padding to a negative value will achieve the opposite effect, increasing the constraint area beyond the Canvas.
Effects
Entrance
Entrance effects play once when Markers are appearing.
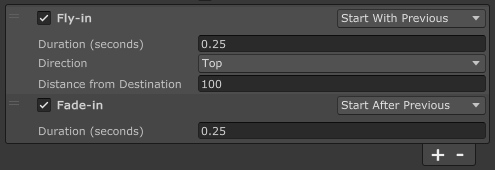
You can add multiple effects and control the order in which they appear.
Duration
Controls how many seconds it takes for an effect to finish. The longer the duration, the slower the effect.
Effect timing
You can control the timing at which effects start playing:
- Start After Previous - The effect will play only after the previous one finishes
- Start With Previous - The effect will play in parallel with the previous one
Note that the timing does not affect how the first effect plays.
Loop
Loop effects play continuously and always in parallel. They stop playing when Markers are no longer needed (i.e., when the Stage is exited).
